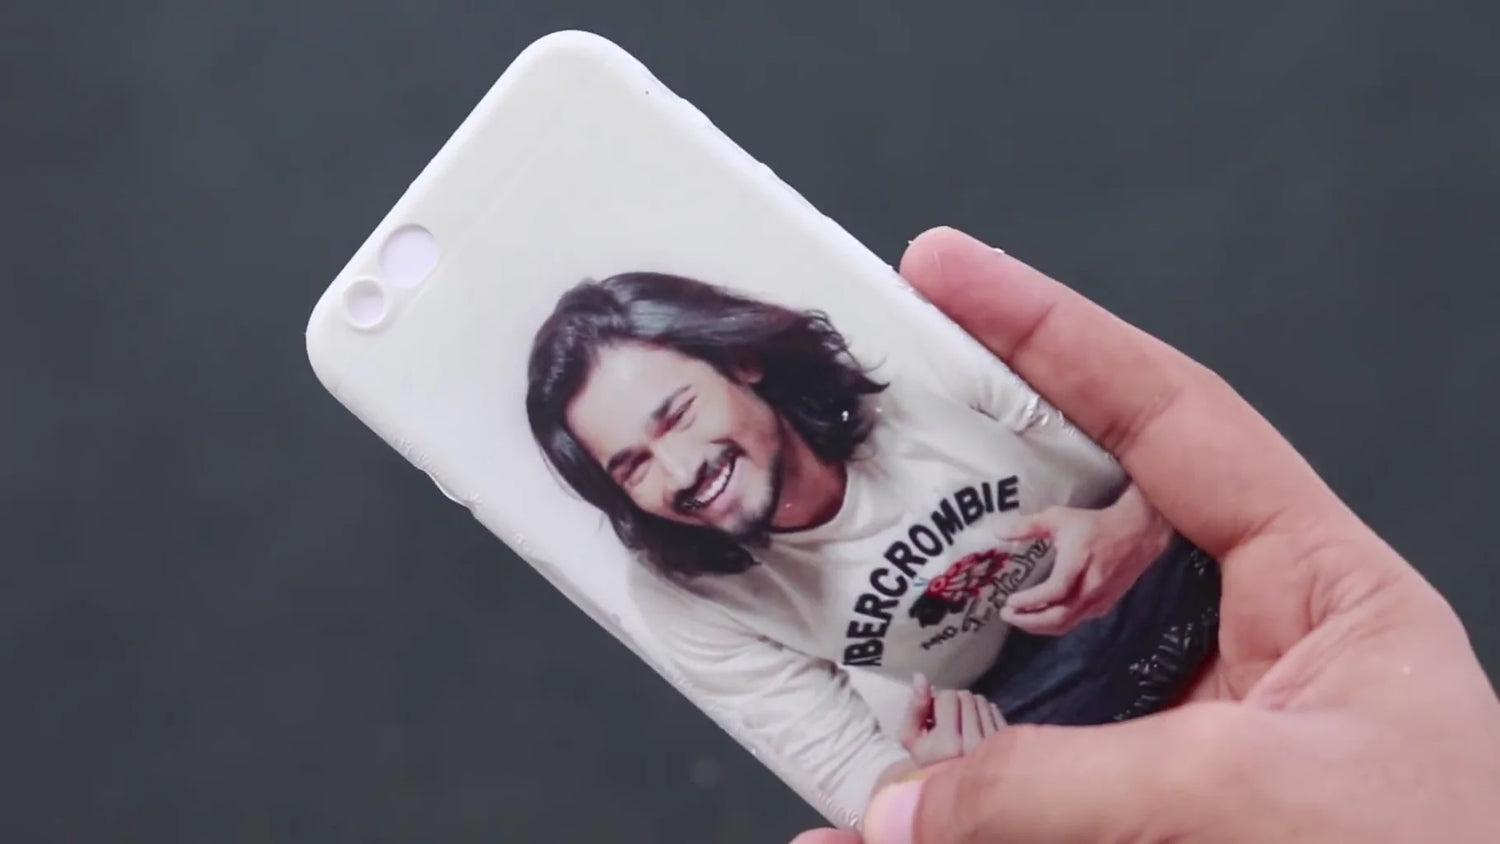
Customizing mobile back covers with personal photos is a popular trend. It not only adds a unique touch to your phone but also allows you to express your style and personality. Whether it’s a cherished memory or a favorite design, learning how to print a photo on your mobile back cover can be a fun and creative project. Here’s a step-by-step guide to help you achieve a professional-looking result.
Step 1: Choose the Right Mobile Back Cover
Before starting the printing process, you need to select a mobile back cover that can hold the print well. Plastic, silicone, or TPU (Thermoplastic Polyurethane) covers are common choices. Ensure that the material is durable and compatible with the printing method you plan to use. Transparent or light-colored covers work best, as they allow the photo to stand out clearly.
Step 2: Select the Photo
Choosing the right image is key to achieving a great result. Pick a high-resolution photo to ensure clarity when printed on the cover. Make sure the photo fits well with the shape and size of the mobile cover. You can also use photo editing software to enhance the image, adjust colors, or add filters and effects.
Step 3: Decide on the Printing Method
There are several methods available for printing photos on mobile back covers, depending on your preference and resources.
1. Sublimation Printing
Sublimation printing is one of the most popular methods. It transfers dye onto materials using heat. Here’s how it works:
- Equipment: You will need a sublimation printer, sublimation ink, and a heat press.
- Process: Print the image onto sublimation paper using sublimation ink. Then, place the printed paper on the mobile cover and use a heat press to transfer the image. The heat causes the ink to transform into gas and bond with the material of the cover, resulting in a vibrant, durable image.
2. UV Printing
UV printing is another advanced method that uses ultraviolet light to cure the ink. It provides a high-quality finish and works on a wide range of materials.
- Equipment: UV printer, UV ink.
- Process: Place the mobile cover in the printer, and the photo is printed directly onto the surface. The UV light dries and hardens the ink instantly, creating a long-lasting image that won’t fade easily.
3. DIY Transfer Paper
If you prefer a simpler, more affordable method, using photo transfer paper is a great option.
- Equipment: Inkjet printer, photo transfer paper, and a household iron.
- Process: Print your image on transfer paper. Place the printed paper face down on the mobile cover and use a hot iron to transfer the image. This method is less durable than professional techniques, but it’s easy and accessible for home use.
Step 4: Align the Image
Once you have chosen your printing method, ensure the image is properly aligned on the mobile cover. Use alignment tools or templates to avoid any misplacement. For covers with specific cutouts for cameras or buttons, make sure the photo doesn’t obstruct these areas.
Step 5: Apply the Protective Layer
After printing the image, it’s essential to add a protective layer to ensure durability. You can use a clear coat or epoxy resin to protect the printed photo from scratches, fading, or damage from daily use. This layer will also enhance the appearance, giving your cover a glossy or matte finish, depending on your preference.
Step 6: Let it Cure
Allow the printed mobile cover to dry or cure for a few hours. This ensures that the image bonds well with the cover and that the protective layer settles in properly.
Final Thoughts
Printing a photo on your mobile back cover is an excellent way to personalize your device and make it stand out. Whether you opt for professional printing techniques like sublimation and UV printing or try your hand at a DIY transfer paper method, the result will be a stylish and unique mobile cover that showcases your creativity. With the right tools and careful attention to detail, you can enjoy a beautifully customized mobile back cover that’s truly one of a kind.


